31 May 2016
Crazy about Crayfish!
My kids have gone crazy for crayfish! We needed to learn about Animal Adaptations, so we decided to study crayfish. We ordered a variety of live crayfish from Carolina Biological and set up tanks for each table. Did you know crayfish breathe in using spiracles on the sides of their body?


We did a few live crayfish labs. The kids got to "meet" their table's crayfish by making some observations. We also saw how the crayfish reacted to bubbles, different colors, covered and uncovered tanks, and how they breathe. All of these labs can be found in a low price pack here.
We also researched crayfish and created report posters about them.

The kids created their own layout and used diagrams, pictures and headings to organize the report and make it informative and eye-catching! Each one is unique!

We also used this great crayfish flip flap book! You can grab one from Simply Skilled in Second for under $5! The kids had a BLAST creating the flip flap book and they looked great displayed in the hallway.

At the end of our crayfish study, we dissected preserved crayfish I got from BioCorp (NOT the live ones we have in our classroom). If you are interested in dissecting them, you can click here for the link to the lab pack. Crayfish a really great little creatures to keep in the classroom and we hope ours stick around for awhile!
30 May 2016
Size Matters - Math Lab with Gummy Worms

Have I got your attention? This is a giant gummy worm. You can get one on Amazon by clicking here. I love to be able to grab my kids' attention in class and this was a great way to do it! All you need is some regular gummy worms and one giant gummy worm.
Here are some pictures of the lab!


The kids did a TON of math and were totally engaged with this one! I have another variation of this lab using gummy bears.
28 May 2016
Make Your Own Alien Project
I am always looking for ways to get my students to write within the content areas. We decided to make our own aliens during our study of the solar system. Students had to sew (yes, I said sew) their own alien creation. We made these during our weeks of testing and they were a welcome relief after 2 hours of tests each day. I brought in an assortment of felt and craft supplies for this project and then just let the kids have at it!

Here are just a few of our creations. I am so impressed by their creativity! Once the aliens were created, students made poster reports about their alien.


03 May 2016
May the 4th Be with You...
Who doesn't LOVE Star Wars? It has always been one of my favorite movie collections since I was a little kid. I have a pack of Star Wars STEM Challenges that I have used in the past, but this year we have so much going on that I needed to find a much quicker activity. We are starting to add the A (Art) to make our STEM school a more STEAM school. In the spirit of art, we decided to try this activity:


We went to youtube and found a great video on how to draw a Stormtrooper. All you have to do is project the video for all to see. The kids grabbed black markers and went right to work. They turned out great! The Art Hub for Kids collection on youtube has a ton of drawing videos. The kids were so emgaged and interested in the activity!
30 April 2016
Building Paper Roller Coasters
As the culminating activity for our Force & Motion unit, we created paper roller coasters. You can purchase the paper roller coaster kits by clicking here. We began by making the framework, then added the roller coaster elements, testing them as we went. Once the coasters were finished, students created names for their coasters and posters and descriptions of the ride the marble takes on their coaster. Students each had a specific job.


We also created vocabulary posters related to the science behind the challenges. These posters have a definition written in the students' own words as well as a diagram to illustrate the word.

If you are interested in purchasing the roller coaster starter pack (with foam pipe insulation), click here.

As you can see from the photos, each design is unique. The paper roller coaster kits allow for a lot of student choice in their roller coaster designs!


We did roller coaster labs with pipe insulation before trying the paper roller coasters. In those labs, students worked on understanding each individual element (loops, curves, hills, corkscrews, tunnels, hills) and the effect each element had on their marble. We created posters and students recorded their observations on post-it notes.
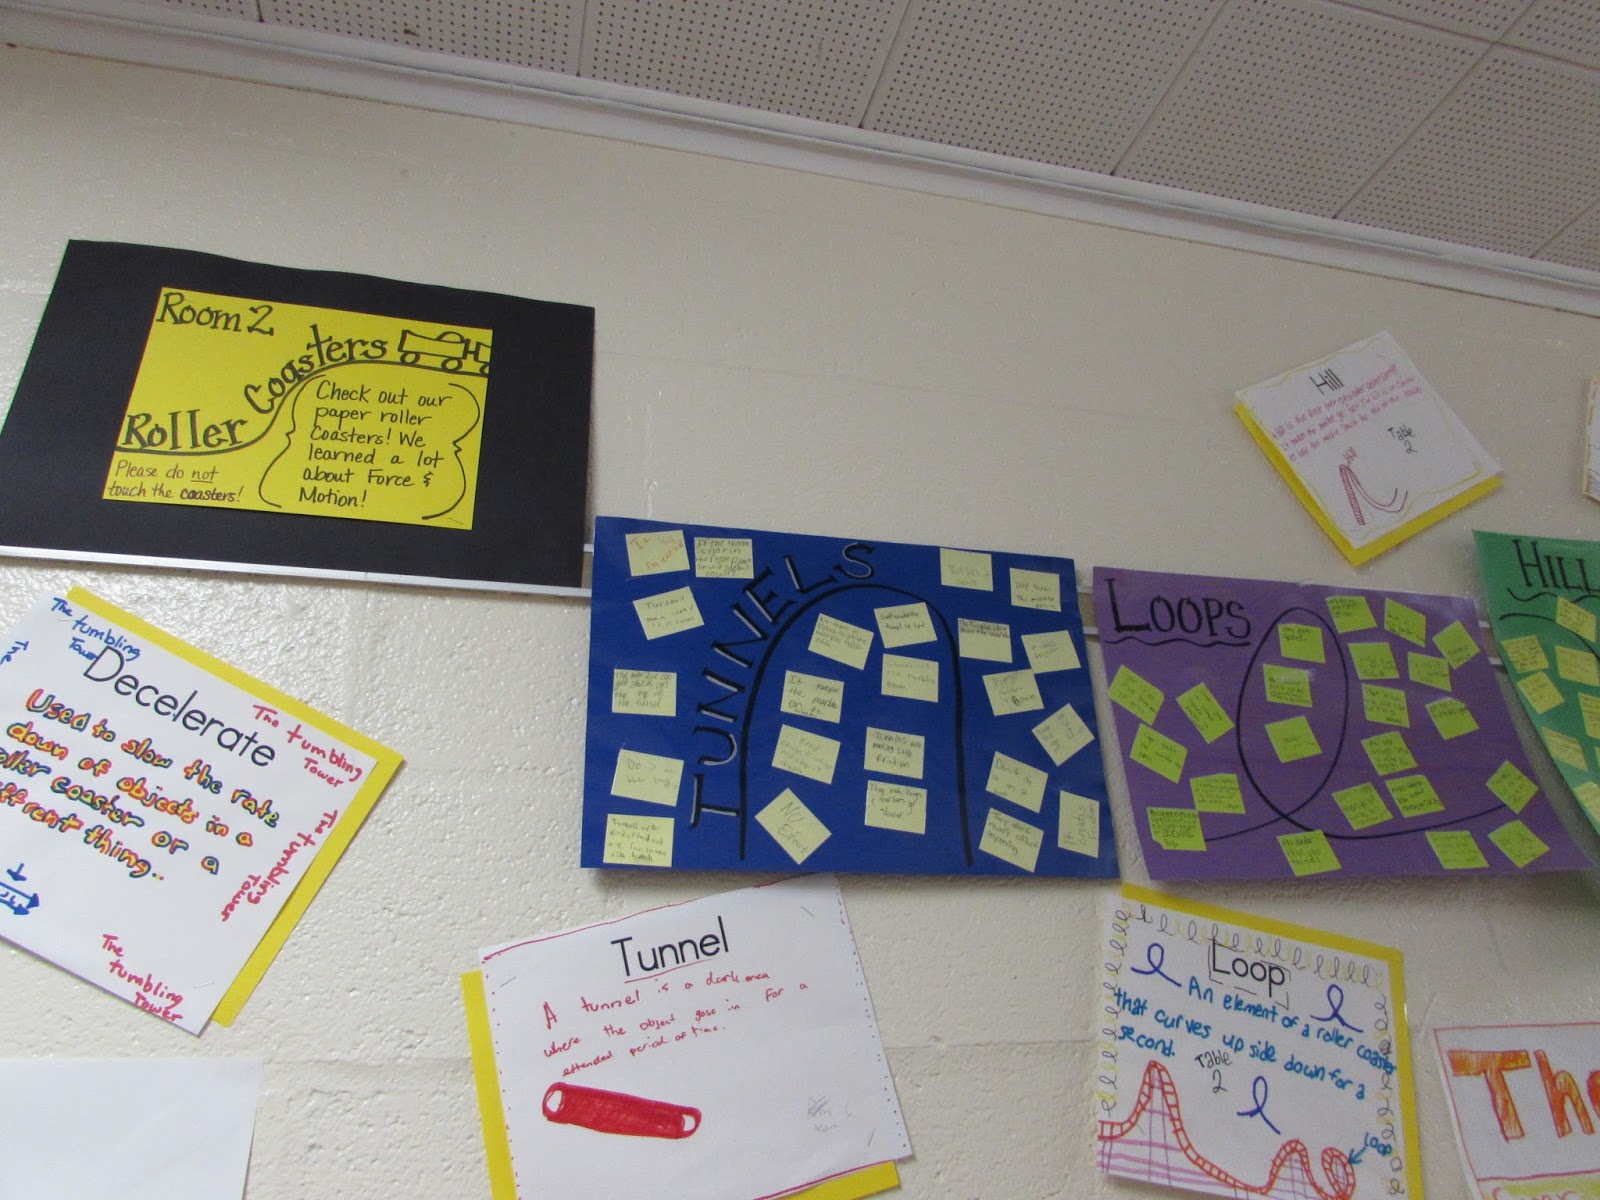


If you are interested in purchasing the roller coaster starter pack (with foam pipe insulation), click here.
Make Your Own Butterfly Hatcheries
Even though I teach intermediate students, they are still fascinated by seeing any animal go through its life cycle. We have painted lady caterpillars in our classroom right now. They came to us as tiny larvae (caterpillars) and they have now each formed a chrysalis. I decided to have each student create their very own place for the chrysalis to hatch. It was actually really easy!
Materials (for each student):
4 empty milk cartons (we collected them in the lunchroom)
masking tape
a piece of felt
a piece of tulle
4 craft sticks
2 bamboo skewers
yarn
paper clips
This is what they finished hatcheries look like...

The chrysalis is secured to the bamboo skewers (which are located in the middle). The four craft sticks are placed on the corners and then the tulle is wrapped around it and tied at the top with yarn. Paper clips are used to secure the tulle to the craft sticks if there are any holes/gaps.

Here is a close up view of the finished hatchery. A sponge of sugar water in a petri dish can be added once the butterflies have hatched. The butterflies may even lay eggs on the tulle and you can start the process over again!
UPDATE! They hatched! The kids were SO excited!

Materials (for each student):
4 empty milk cartons (we collected them in the lunchroom)
masking tape
a piece of felt
a piece of tulle
4 craft sticks
2 bamboo skewers
yarn
paper clips
This is what they finished hatcheries look like...

The chrysalis is secured to the bamboo skewers (which are located in the middle). The four craft sticks are placed on the corners and then the tulle is wrapped around it and tied at the top with yarn. Paper clips are used to secure the tulle to the craft sticks if there are any holes/gaps.

Here is a close up view of the finished hatchery. A sponge of sugar water in a petri dish can be added once the butterflies have hatched. The butterflies may even lay eggs on the tulle and you can start the process over again!
UPDATE! They hatched! The kids were SO excited!

16 February 2016
Teaching Growth Mindset using STEM Challenges
The concept of a growth mindset was developed by psychologist Carol Dweck and popularized in her book, Mindset: The New Psychology of Success. In recent years, many schools and educators have started using Dweck’s theories to inform how they teach students.
“In a growth mindset, people believe that their most basic abilities can be developed through dedication and hard work—brains and talent are just the starting point. This view creates a love of learning and a resilience that is essential for great accomplishment,” writes Dweck.
Students who embrace growth mindsets—the belief that they can learn more or become smarter if they work hard and persevere—may learn more, learn it more quickly, and view challenges and failures as opportunities to improve their learning and skills.
STEM Challenges are all about this idea of working hard and persevering. In the course of doing a STEM Challenge, students see their failures as opportunities to improve their learning and skill at that particular challenge.
As I approach the topic of Growth Mindset with my students, I use a pretty simple lab. Students must build a flashlight, but there's a catch, they must do it one piece at a time and no one student can do two parts back to back.

Each group needs a disassembled flashlight (I get the mini flashlights from the Dollar Tree) with batteries. You will need to take it apart into as many pieces as possible. Students need to work together to build the flashlight in the fastest time. While it seems easy, this lab takes students awhile to figure out, then even longer to get a pretty fast time. The challenge of working together to build it, with each student doing different parts, is a tough one.
You can get the flashlight lab here. Ready to open the world of growth mindset to your students?
“In a growth mindset, people believe that their most basic abilities can be developed through dedication and hard work—brains and talent are just the starting point. This view creates a love of learning and a resilience that is essential for great accomplishment,” writes Dweck.
Students who embrace growth mindsets—the belief that they can learn more or become smarter if they work hard and persevere—may learn more, learn it more quickly, and view challenges and failures as opportunities to improve their learning and skills.
STEM Challenges are all about this idea of working hard and persevering. In the course of doing a STEM Challenge, students see their failures as opportunities to improve their learning and skill at that particular challenge.
As I approach the topic of Growth Mindset with my students, I use a pretty simple lab. Students must build a flashlight, but there's a catch, they must do it one piece at a time and no one student can do two parts back to back.

Each group needs a disassembled flashlight (I get the mini flashlights from the Dollar Tree) with batteries. You will need to take it apart into as many pieces as possible. Students need to work together to build the flashlight in the fastest time. While it seems easy, this lab takes students awhile to figure out, then even longer to get a pretty fast time. The challenge of working together to build it, with each student doing different parts, is a tough one.
You can get the flashlight lab here. Ready to open the world of growth mindset to your students?
Subscribe to:
Posts
(Atom)


STEM Breaks - A Quicker Way to STEM!
STEM Breaks are something I have been using in my own classroom for years! These short STEM activities give my students the opportunity to ...

Grab my button!

Popular Posts
-
 This is one of those classic science activities, that is always a HUGE hit with the students! Can you save FRED? This poor gummy worm...
 -
 Can you build a paper chair that can hold the weight of a stuffed animal? This STEM challenge is always one of my students' favorites! ...
 -
 I am so excited about our first school-wide monthly STEM challenge! This one requires very few materials! All you need is a pack of assort...
Ohio
